.jpg)
.jpg)
.jpg)
.jpg)
.jpg)

.jpg)
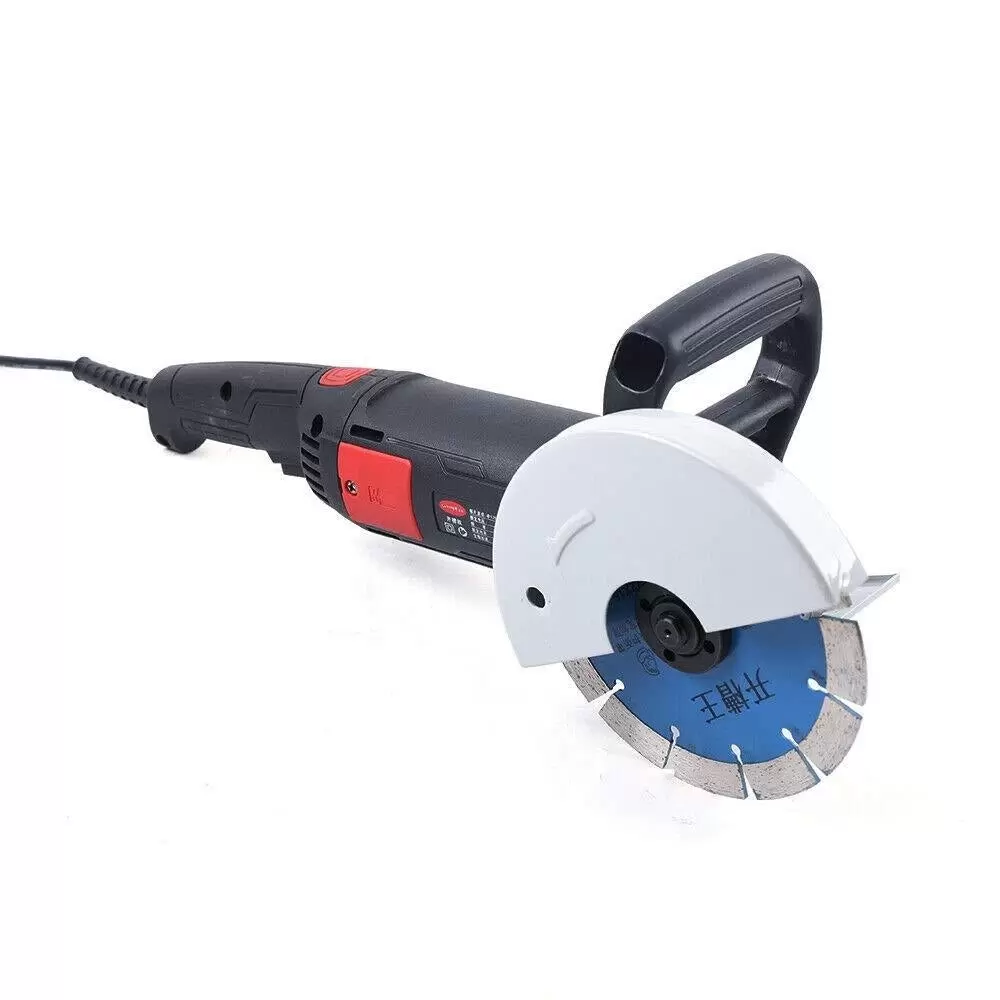
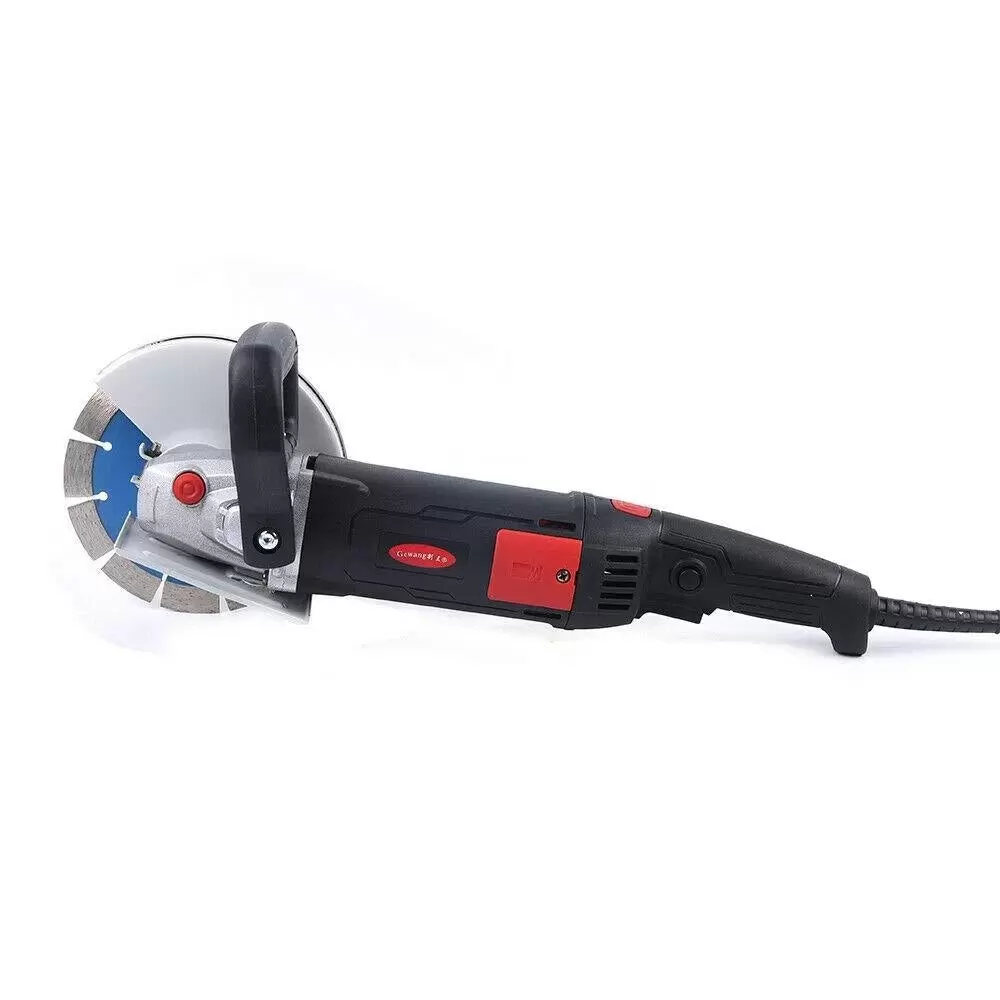
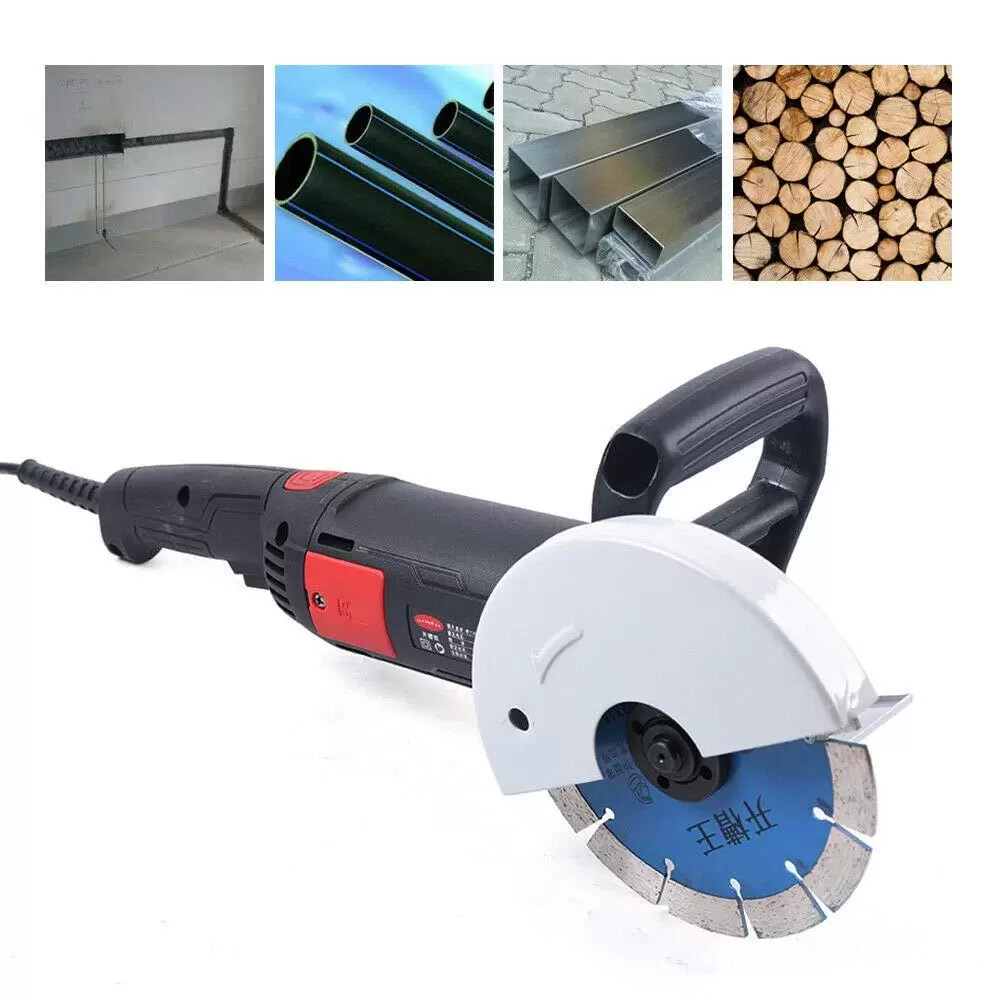
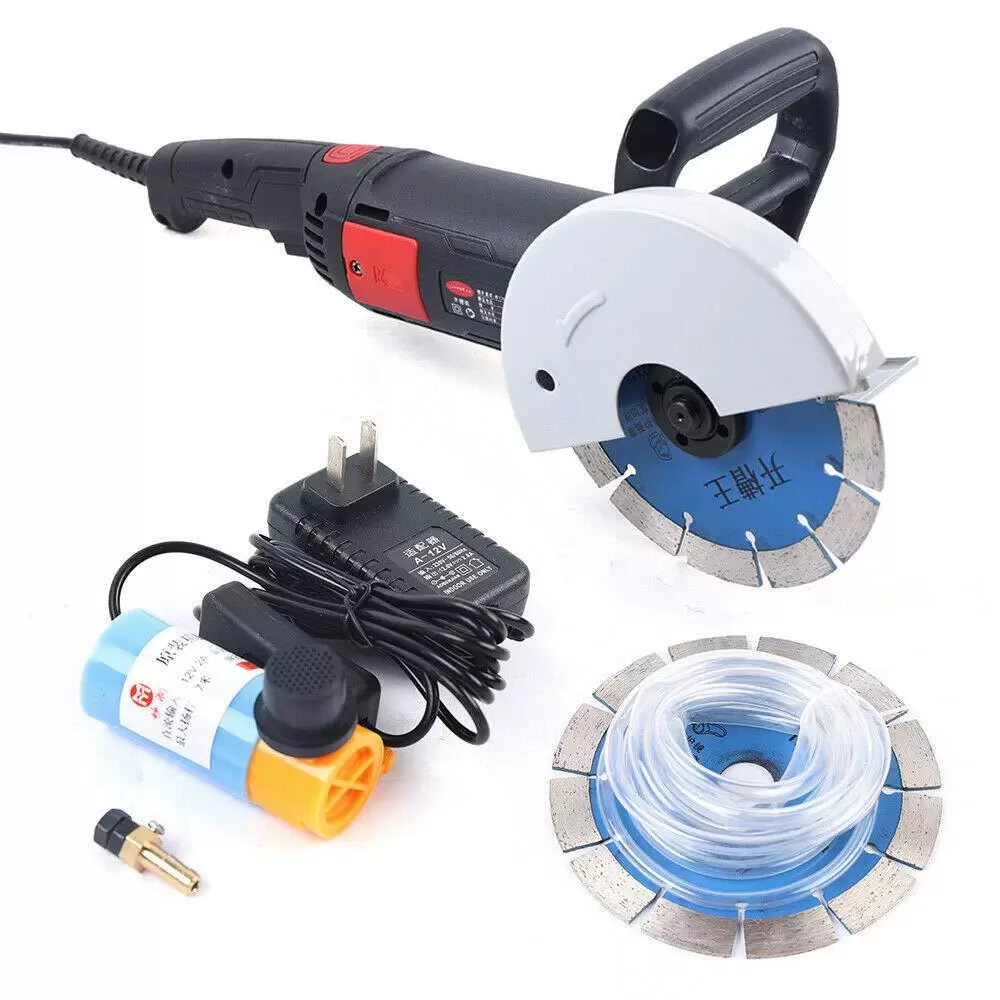
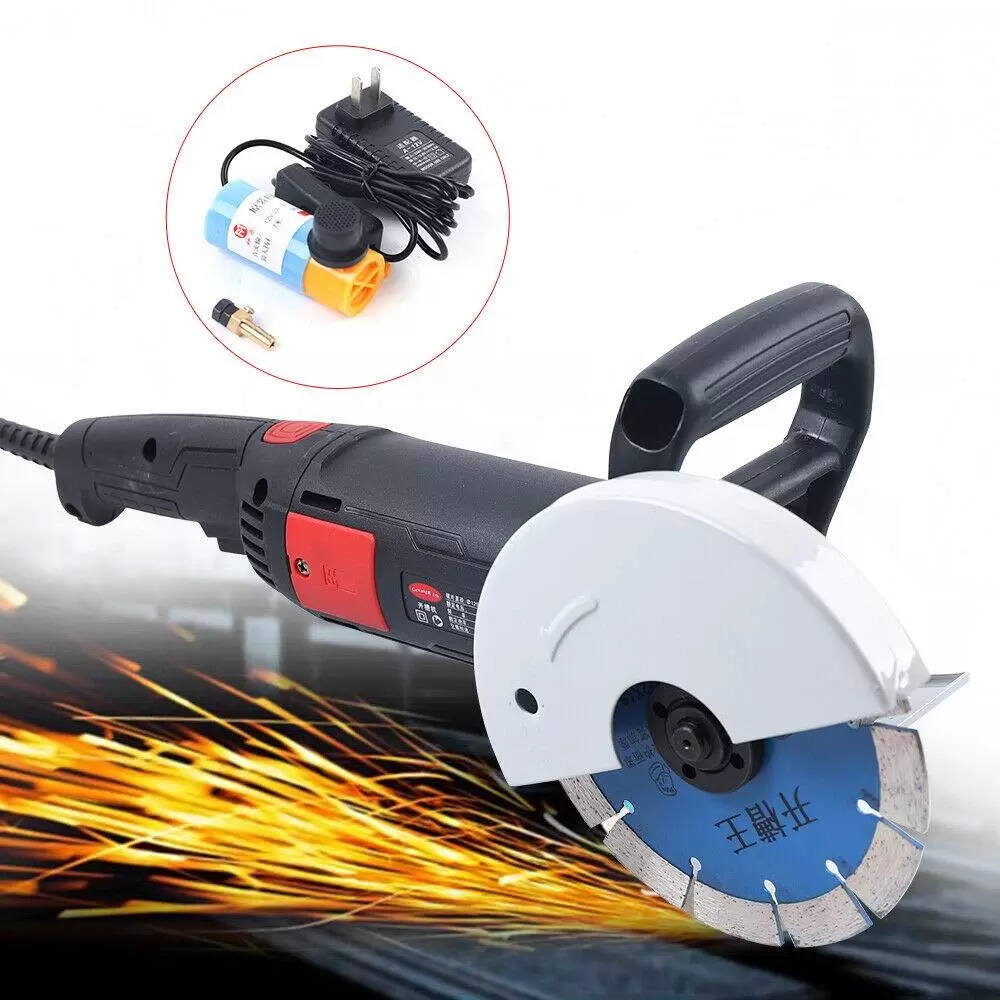
11000R/Min 980W Wall Hunter Gap Cutter 156mm Saw Blade Joint Cutter Wall Cutter 220V
- Brand: CNCEST
- Product Code: BI-MLLCR-1350-EU
- Availability: Out Of Stock
Specifications
| Color | Black, Red | Shape | Round |
| Style | Modern | Material | Cold-rolled Silicon Steel Sheet, Aluminum |
| Power Source | Corded Electric | Plug | EU Standard |
| Voltage | 220V | Frequency | 50Hz |
| Rated Power | 980W | Rated Input Power | 1800W |
| Idle Speed | 11000rpm | Saw Blade Diameter | 156mm/6.14inch |
| Maximum Sawing Depth | 47mm/1.85inch | Power Cord Length | 1.8m/5.9ft |
| Hose Length | 3m/9.8ft | Product Size(L*H) | 45.5*16.5cm/17.9*6.5inch |
| Net Weight | 1.75kg/3.85 lbs | ||
Product Tips
.jpg)
Notes
1.This machine is only suitable for grooving lines, not for grooving pipes, and needs to be used in conjunction with an electric hammer.
2.When cutting vertical grooves, the machine head should be facing downwards to prevent the motor from entering the water, causing burning or leakage.
3.Please check the carbon brush condition regularly, it is generally recommended to replace the carbon brush once in 80 hours of use. When the spark is large, also need to replace the carbon brush in time.
4.When cleaning the machine head, please avoid water entering the machine body through the ventilation hole.
5.Please keep the handle dry, clean, and free from oil.
6.Please do not wear loose clothing, scarves, ties, or hand jewelry when operating to avoid danger from being caught in moving or rotating parts. Please wear gloves(not included) when using this product.
7.Please beware of potential safety hazards in electricity use. Please use this product according to the English manual, take necessary personal protective measures, and keep them out of reach of children.
8.Please allow the slight color difference caused by the shooting light and 1-3cm error due to manual measurement and make sure you do not mind before ordering.
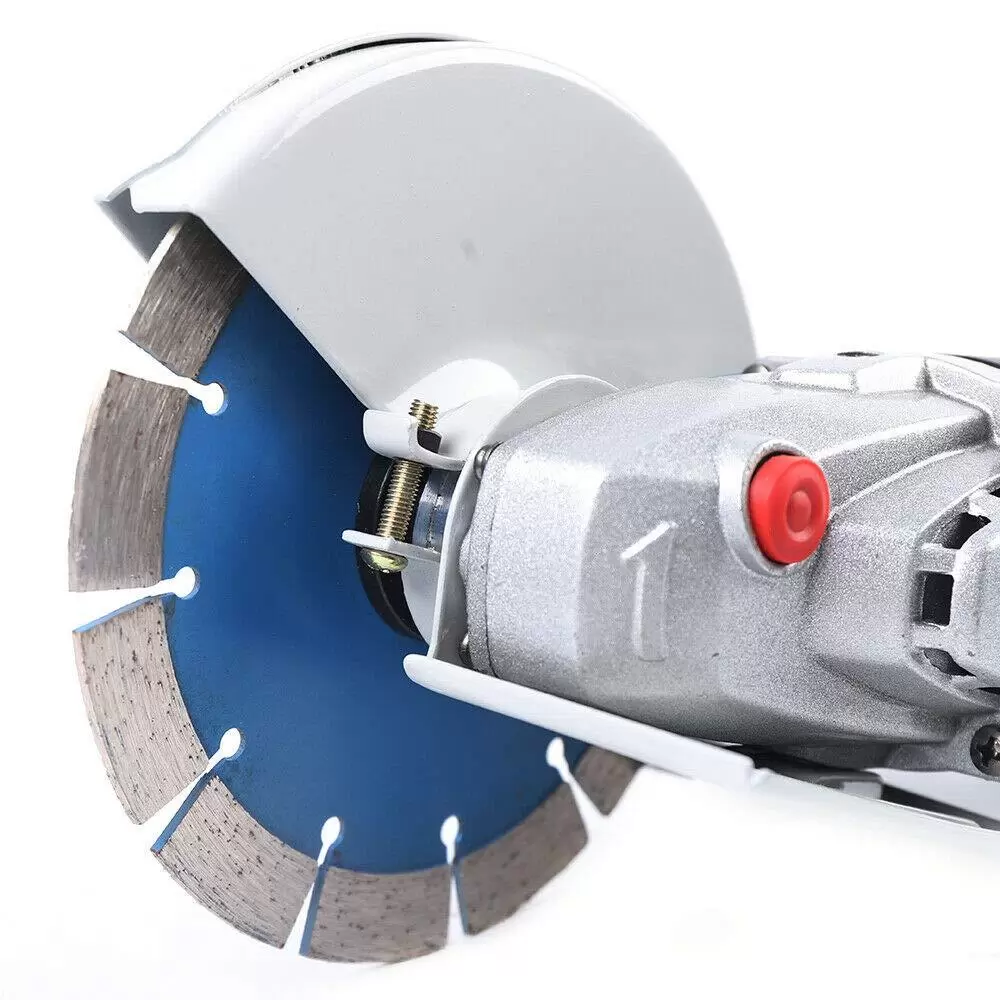
How to Replace the Blades
1.Install the first pressing plate.
2.Install the saw blade.
3.Cover the pressing plate, press the spindle button, and tighten the pressing plate with a wrench.
Loading...
Loading...
Loading...
Loading...


