

.jpg?x-oss-process=image/resize,m_fill,w_600,h_600)
.jpg?x-oss-process=image/resize,m_fill,w_600,h_600)
.jpg?x-oss-process=image/resize,m_fill,w_600,h_600)


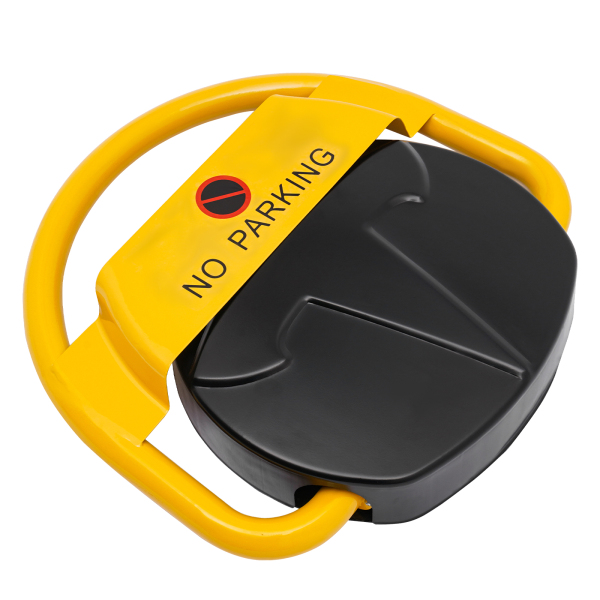
Remote Control Auto Parking Latch Space Saver Lock Car Park Barrier Waterproof
- Brand: CNCEST
- Product Code: QCJLYN6MWDWMT
- Availability: Out Of Stock
Specifications
| Color | Yellow | Style | Modern |
| Shape | Round | Assembly Required | Yes |
| Material | Cold-Rolled Steel | Process | Integrated Die-casting Molding, Stamping, Baking Paint |
| Power Source | Battery Powered | Battery Type | 4* 3000mAh Dry Batteries(Not Included), 1* Button Battery(Remote Control) |
| Battery Endurance | 4-6 months | Control Method | Remote Control on 433 Frequency |
| Remote Control Distance | 10m/32.8ft | Motor Type | Pure Copper Reduction Motor |
| Protection Level | IP67 | Voltage | DC6V |
| Quiescent Current | ≤0.8mA | Working Current | ≤0.85A |
| Lifting Height | 40cm/15.8inch | Descent Height | 7.5cm/2.9inch |
| Descent Time | ≤5s | Anti-collision Performance | Positive and Negative 180° Anti-collision |
| Working Temperature | -10~+55℃/14~131℉ | Load-bearing Capacity | 8T/17640 lbs |
| Base Height | 8cm/3.2inch | Product Size(W*H) | 45*40cm/17.7*15.8inch |
| Package Size | 48*48*11cm/18.9*18.9*4.3inch | Gross Weight | 7kg/15.4 lbs |
Product Tips

Notes
1. Please read the operating manual completely before use. And pay particular attention to the safety instructions included.
2. Please test the parking space lock before installation. It is recommended to install the lock in the center of the entrance of the parking space. Installation of perforated screws must be on a level and hard surface, please do not install in the low-lying water to avoid insecurity.
3. Please allow the slight color difference caused by the shooting light and 1-3cm error due to manual measurement, and make sure you do not mind before ordering.
Bolts Installation Steps:
1. Place the parking lock in a place without accumulated water.
2. Mark three holes with a pen for easy punching.
3. Drill three holes with an electric drill(not included) according to the marks.
4. Install and tighten the screws with the corresponding holes.
5. Lock the cover and complete the installation.
Loading...
Loading...
Loading...
Loading...


.jpg?x-oss-process=image/resize,m_fill,w_1000,h_1000)
.jpg?x-oss-process=image/resize,m_fill,w_1000,h_1000)
.jpg?x-oss-process=image/resize,m_fill,w_1000,h_1000)


.jpg)
.jpg)

%20(2).jpg?x-oss-process=image/resize,w_600)


.jpg)
.jpg)

